
Sunset Reflection Photography: How to Find and Compose Puddles, Lakes, and Wet Sand
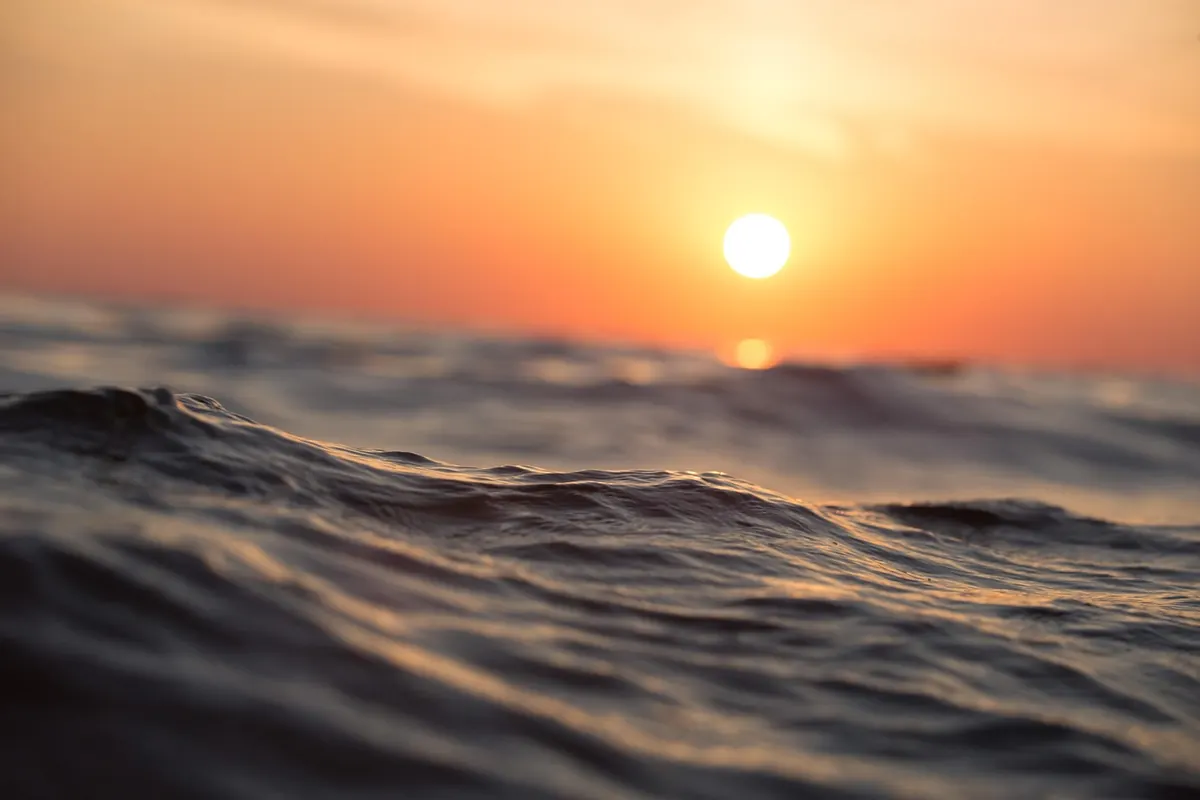
The sky turns and suddenly the ground is doing the same thing. A puddle between two parked cars holds an entire orange cloud. A lake goes completely still for ninety seconds and the whole ridge appears upside down in it. Those are the moments most sunset photographers chase, and they rarely require travel to a famous viewpoint. They require noticing water, and then getting low enough to use it.
Reflections do two things for a sunset frame. They double the colour, which is pleasant, and they add depth, which is what actually makes a photograph feel like a place rather than a postcard. Here is how to find the surfaces and how to compose them without the result looking like a mistake.
Where the Water Hides
Reflective ground is more common than most people assume, especially in the hour after rain. Train yourself to scan for it before you scan for the view.
- Puddles in asphalt and gravel. Parking lots, farm tracks, cobbled squares, and worn concrete all hold water in shallow depressions. A puddle a metre wide is enough for a full sky if you get close.
- Ponds and small lakes. The sheltered edge, the one with trees or a bank blocking the wind, is where the mirror forms first. Small ponds go glassy faster than big open water.
- Wet sand. The thin film left by a retreating wave gives you a mirror for as long as it takes to drain, often fifteen to forty seconds depending on the slope of the beach.
- Flooded fields and salt flats. After heavy rain, flat agricultural land and coastal flats turn into enormous shallow mirrors. They are the easiest places to find symmetry with nothing in the way.
- Rock slabs and paved plazas. Smooth stone after rain reflects almost as well as still water, and it holds a sheen in wind.
Wind is the variable that decides everything. Check the forecast before you leave, and once you arrive, watch which side of a pond has ripples and which has none. Set up on the sheltered side with the wind at your back, so any chop is pushed away from you rather than across your reflection.
Puddles: Get Low and Let the Sky Fill Them
The single biggest improvement most people can make with puddles is to put the camera almost on the ground. Standing height flattens the puddle into a sliver at the bottom of the frame. Kneeling or lying down turns it into a lens. At twenty or thirty centimetres above the surface, a puddle that looked unremarkable from standing height can fill half your frame with cloud.
Choose puddles with a defined shape. A clean curve of wet gravel around the edge gives the reflection a natural frame; a puddle that sprawls without edges just looks like wet ground. Pay attention to what sits in the puddle itself: a single stone, a fallen leaf, a painted line, a reflection of a lamp post. That small interruption is what stops the picture from being a rectangle of sky.
For focus, stop down to around f/8 to f/11 and place focus slightly beyond the nearest edge of the water so both the reflected sky and the ground around it stay acceptably sharp. If your camera has a fold-out screen, use it. It saves your knees and lets you compose while crouching.
Lakes and Ponds: Let the Wind Decide
On still evenings, a lake gives you the full symmetrical picture: two skies, one ridge, one band of land in the middle. On breezy evenings it gives you something different and often better, which is texture. Neither is wrong. The mistake is arriving with one shot in mind and forcing it.
When the water is glassy, hunt for a foreground anchor on the near shore, because pure symmetry with nothing in it can feel empty. A jetty running out into the reflection, a boulder, a clump of reeds, a moored boat. Position that object so it interrupts the mirror rather than sitting awkwardly beside it. A wide lens helps here, since it lengthens the reflection and pulls in more shoreline to either side.
Wet Sand: A Moving Mirror
Beaches are the most dynamic reflective surface available, and timing matters more than gear. The best mirror appears in the seconds after a wave withdraws and before the sand drains. Watch a few waves first to learn the rhythm, then commit. A fast shutter speed freezes the pattern of foam and gives the reflection a grainy texture; a slower shutter of half a second or more smears the retreating water into pale streaks and turns the reflection soft.
Keep your tripod legs shallow in the sand and expect to rinse everything afterwards; salt spray finds its way into everything given time. A microfibre cloth in a pocket saves a lot of frames. And mind the incoming wave: the best low angle is often just beyond where you would like to stand.
Composing for Symmetry
Level, Then Divide
For a full reflection, the horizon line has to be level and the division usually wants to sit near the middle of the frame. A tilted horizon in a symmetrical picture is glaring; in an ordinary landscape it can pass. Use the camera's grid and a bubble level if the tripod has one, and check the frame edges for stray bright clouds that break the balance.
Break It Deliberately
Perfect symmetry is a strong statement, and it works best once per portfolio. Often the better frame keeps the reflection smaller than the sky, or crops the reflection at the bottom, or puts the dividing line at a third. Ask yourself whether the reflection is the subject or a supporting element. If it is supporting, give the sky two-thirds and let the water hold colour without demanding attention.
Layers: When the Water Isn't a Mirror
Wind ripples do not ruin reflections, they layer them. A choppy surface breaks the sky into horizontal bands of colour, and those bands stack against the shoreline, the far hills, and the clouds above. Use a longish lens to compress those bands, or get low and let the rippled foreground lead the eye toward the calm water beyond.
Submerged elements are the most underused layer. Stones under clear water, grass poking through a flooded field, the stepped edge of a pond bank: these give the eye something to move through between the reflection and the sky. Choose an aperture that keeps them legible and focus further into the scene than feels natural; half of a reflection photograph is deciding what should stay soft.
Exposure, Filters, and the Afterglow
Reflections and skies are usually similar in brightness, so a single exposure often covers both. Expose for the brightest clouds and let the water follow. If the reflected sky is noticeably darker, which happens more often on wet sand and rock than on still water, bracket three frames a stop apart and choose later.
A polarising filter needs care. It deepens blue sky and cuts glare, but water reflections are themselves polarised, so turning the filter can erase the very thing you came for. Rotate slowly and watch the reflection build or fade in the viewfinder, then stop where it looks right.
Stay after the sun goes down. On still water the reflection of the afterglow often reads better than anything during the actual sunset, because the contrast between red sky and blue water is less extreme and the surface settles as the evening cools.
A Short Field Routine
- Arrive forty minutes before sunset and walk the waterline before setting up anything.
- Find your reflection first, then your sky. Choose the surface, not the view.
- Check the wind direction and move to the sheltered side of the water.
- Get the camera low, level the horizon, and compose before fine-tuning settings.
- Shoot the peak colour, then stay twenty minutes longer for the afterglow.
Do that a handful of evenings in a row and you will start seeing puddles on the walk home, not just at the coast. That is the real skill, and it costs nothing but a slightly damp pair of trousers.
Photo: Pexels / Pixabay