
Common Sunset Photo Mistakes That Ruin Color and How to Fix Them
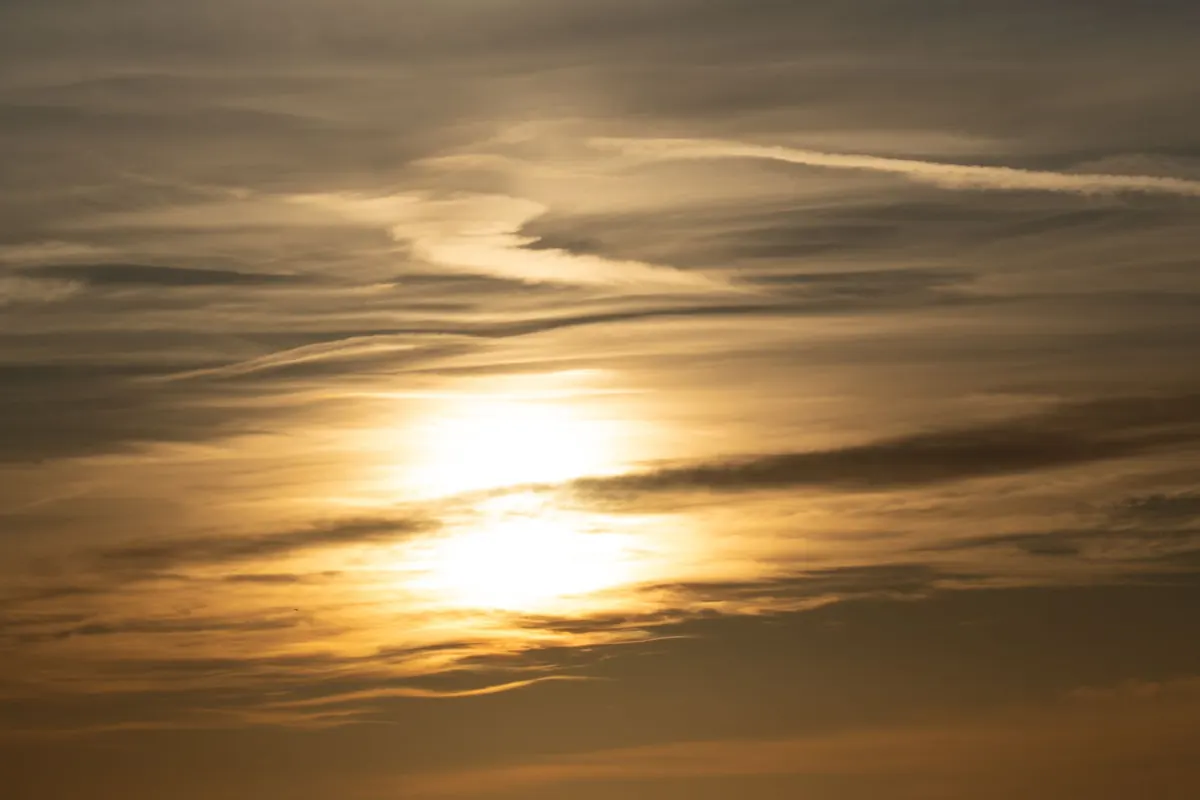
Most disappointing sunset photos fail for ordinary reasons. The light was there, the location was decent, and the file still comes back with a washed-out white sky above a black smear of hills. It is rarely a problem with the camera. It is almost always a handful of habits: exposing for the wrong part of the frame, arriving when the show is already half over, or pointing the lens at a beautiful sky with nothing in front of it.
The encouraging part is that each of these mistakes has a specific correction, and most of them cost nothing but a little attention. Here are the ones that show up most often, in roughly the order they tend to ruin an evening.
Clipped Highlights: When the Sky Burns Out
A sunset holds more brightness range than most sensors can record in a single frame. The camera meter does what it was designed to do — it averages the scene — and the result is a sky with the brightest clouds turned into flat white patches. Once a colour channel reaches pure white, there is no data left to recover. Editing cannot bring back detail that was never recorded.
The fix is to expose for the sky rather than for the whole scene. Start by dialling in a stop less exposure than the meter suggests, then check the histogram. If the right-hand edge is jammed against the wall with a tall spike, pull the exposure down further. Turn on the highlight warning display if your camera has it; those flashing areas are your enemies. A small disc of pure white where the sun itself sits is fine. A blown-out halo around it is not.
Three habits make this easier. Shoot raw, because it preserves far more headroom in the bright tones. Bracket a set of exposures a stop or two apart so you can blend later if the range is extreme. And if you use a graduated neutral density filter, position it so the transition falls across the horizon line, not through the middle of your foreground.
Timing: Arriving at the Last Minute
The most common scheduling error is treating sunset as a moment. It is a process, and the best part is often not the sun touching the horizon. Colour builds for the better part of an hour before, and it frequently peaks ten to twenty minutes after the sun disappears, when the clouds overhead catch light from below.
Arrive at least forty minutes early. That gives you time to walk the location, find a foreground, set up, and notice which direction the clouds are moving. It also means you are already standing in position when the light does something unexpected, instead of running across a car park with a tripod in one hand.
And stay late. Many photographers pack up the instant the sun drops, then drive home while the sky turns the colour they came for. Give it another twenty minutes before you decide the evening is finished.
Weak Foregrounds: A Sky With Nothing to Stand On
A dramatic sky on its own is decoration. It needs something to sit above — a shape that gives the eye somewhere to land and gives the scene a sense of scale. Without one, even a spectacular sunset reads as a snapshot of the weather.
Look for anything that holds a strong silhouette: a rock outcrop, a breakwater, a lone tree, the ridge of a hill, a line of fence posts, the edge of a jetty. Water is especially generous, because a reflection doubles the colour and fills the lower half of the frame with something worth looking at. If the ground is genuinely empty, drop the camera low and let grass, gravel or a path lead into the frame instead.
- Get closer than feels natural. Foreground objects shrink dramatically in a wide lens. Two steps forward often fixes a composition.
- Use silhouettes deliberately. Expose for the sky and let the foreground go black — that is a legitimate look, not a failure, as long as the shape is interesting.
- Watch the edges. A stray branch poking into the corner is more distracting than a busy middle.
- Try both orientations. A vertical frame often suits a tall foreground object better than a horizontal one.
White Balance and Saturation: Losing the Colour You Came For
Auto white balance tries to neutralise colour casts, which is exactly the wrong instinct at sunset. It can quietly cool down a warm sky or shift the tint between consecutive frames, leaving you with a set of images that do not match.
Set daylight white balance and leave it there for the session. If you shoot raw, the setting is only a starting point and you can adjust it later without penalty — but a fixed value keeps the sequence consistent and stops the camera from fighting the light. When you do adjust in editing, move the temperature slider gently. Pushing warmth too far turns orange into a uniform amber and kills the subtle pinks and mauves that make an evening sky interesting.
Exposure and colour are also linked more than people expect. A frame that is a stop too dark looks muddy; the saturation in the midtones collapses. Get the exposure close in camera and the colour usually takes care of itself.
Composition Slips: The Droopy Horizon and the Centred Sun
Two framing habits account for a large share of forgettable sunset shots. The first is a tilted horizon, which is easy to miss on a small screen and impossible to ignore on a large one. Use the camera's level display, or a grid overlay, and check it again after you have adjusted the tripod.
The second is putting the sun dead centre every time. It works occasionally, but as a default it leaves the frame static and splits the sky into two equal, uninteresting halves. Place the sun off to one side and let the clouds carry the composition across the empty space. If the sky is the strong element, give it two-thirds of the frame; if the foreground is stronger, invert that ratio.
While you are checking the frame, look for clutter you have stopped seeing: a lamp post growing out of the horizon, a car in the corner, a piece of litter near the tripod feet. Move two metres and it usually disappears.
Editing Mistakes: Recovering Detail Until the Colour Dies
Heavy-handed editing is its own category of sunset damage. Pulling the highlights slider all the way down to rescue a blown sky turns warm clouds grey and flat. Pushing saturation and vibrance to the maximum produces glowing edges, purple fringing and colours that look like a poster rather than an evening.
Work in small increments and compare against the original often. Target the oranges and reds with the HSL panel instead of lifting global saturation. Keep an eye on the sky gradient — smooth transitions are where banding and noise appear first, especially after heavy shadow recovery. A modest vignette can help focus attention, but a strong one looks like a frame drawn around the picture.
If you can see the edit before you see the sunset, the edit has gone too far.
A Quick Check Before the Light Goes
Most of this comes down to a short routine you can run in under a minute while the colour is building:
- Check the histogram and pull exposure down until the brightest clouds hold detail.
- Level the horizon and confirm the sun is not sitting dead centre by reflex.
- Find one clear foreground shape and get close enough that it actually reads.
- Set daylight white balance and leave it alone for the rest of the session.
- Shoot a bracket of three frames in case the range is wider than the sensor.
- Stay for twenty minutes after sunset before packing up.
None of these steps requires new gear or a complicated workflow. They require you to arrive early, look at the edges of the frame, and trust that a well-exposed sky with a simple, deliberate foreground will beat a heavily processed one almost every time. Fix two or three of these habits and your next sunset will look like the evening you actually stood in.
Photo: Budget Bizar / Pexels